Getting Started
Overview
The Mobile Monetization Plugin is a comprehensive solution that combines Advertisement, In-App Purchases (IAP), Offerwalls, and System utilities into a unified framework. It handles initialization order, SDK dependencies, and cross-platform compatibility, allowing you to focus on gameplay logic.
Installation
- Go to the GitHub Releases page.
- Download the latest
.unitypackagefile from the Assets section. - In Unity, go to Assets > Import Package > Custom Package….
- Select the downloaded
.unitypackagefile and click Open. - In the import dialog, ensure all files are checked, then click Import.
The plugin files will be placed under Assets/Mobile Monetization/ in your project.
1. Explore the Example Scene
Before diving into the manual setup, it is highly recommended to explore the provided example scene. This scene demonstrates the core components already configured and includes example script implementations.
- In your Unity Project window, navigate to
Assets/Mobile Monetization/Example. - Open the
Mobile Monetization Examplescene. - Review the
SampleMobileAds.csscript to see a working example of how to implement the plugin. - You can also find pre-configured Default Plugin Settings in
Assets/Mobile Monetization/Plugin Resources/Plugin Settings, which you can use directly or as a reference.
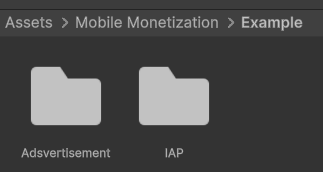
Example Scene location
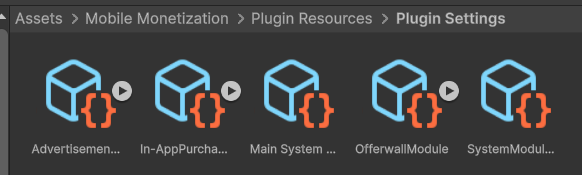
Default Plugin Settings location
Essential Prefabs
Within the plugin, you will find several key prefabs (typically located in Assets/Mobile Monetization/Plugin Resources/Prefabs):

Essential Prefabs location
- GDPR: A prefab that you can freely customize to change the appearance of the privacy consent dialog.
- Core System Canvas: A prefab used for displaying pop-up messages and loading screens, which are necessary for Ads and IAP operations.
- Main System Manager: The core manager of the plugin. This prefab must be present in your scene to use the plugin.
- Note: The Ads Dummy and Item Panel prefabs are intended solely for the example scene.
2. Main System
The Main System acts as the brain of the plugin, initializing all other modules in the correct order.
Setup Steps
-
Prepare Settings:
- Option A (Recommended): Use the existing
MainSystemSettingslocated atAssets/Mobile Monetization/Plugin Resources/Plugin Settings. - Option B (Manual): Create it manually by right-clicking in the Project view >
Mobile Core>Main System Settings.
- Option A (Recommended): Use the existing
-
Assign Modules:
- Open your
MainSystemSettings, then click the Add Module button to register the modules you need (e.g., Ads, IAP, Offerwall).

Add Module Screenshot
- Assign the
MainSystemSettingsyou prepared to theMain System Managerprefab located atAssets/Mobile Monetization/Plugin Resources/Prefabs.
- Open your
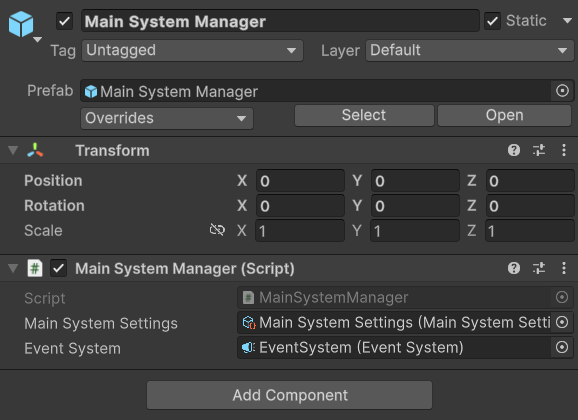
Assign Settings to Main System Manager Prefab
- Scene Setup:
- Add the
Main System Managerprefab into your scene. - Recommendation: Place this prefab in an empty scene (e.g., a Bootstrap or Splash scene) that is loaded before your main gameplay scene. This is recommended because the prefab contains a
DontDestroyOnLoadscript and will automatically persist throughout the game’s lifecycle.
- Add the
3. Enabling Third-Party SDKs (Define System)
The Mobile Monetization plugin acts as a bridge for many external third-party SDKs. To prevent dependency errors when these SDKs are missing, the plugin relies on C# preprocessor directives (defines) to carefully disable any integration code that lacks its corresponding SDK in your project.
For this reason, the Define System was created. This built-in tool can automatically detect the presence of installed SDKs within your project and safely insert the necessary Scripting Define Symbols to your Player Settings to enable the specific integration code.
-
Install SDK: Import your desired third-party SDKs (e.g., AdMob, Unity Ads, LevelPlay, Unity IAP, etc.) into the project.
-
Enable Defines:
- Go to
Tools > MobileCore > Define Symbols Manager.
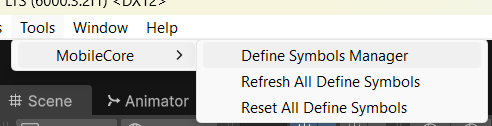
Menu Tools Define Symbol Manager
- Click Refresh All Define Symbols.
- The system will scan your project for the SDK classes (configured in
Assets/Mobile Monetization/Define System/) and automatically add the necessary Scripting Define Symbols to Player Settings.
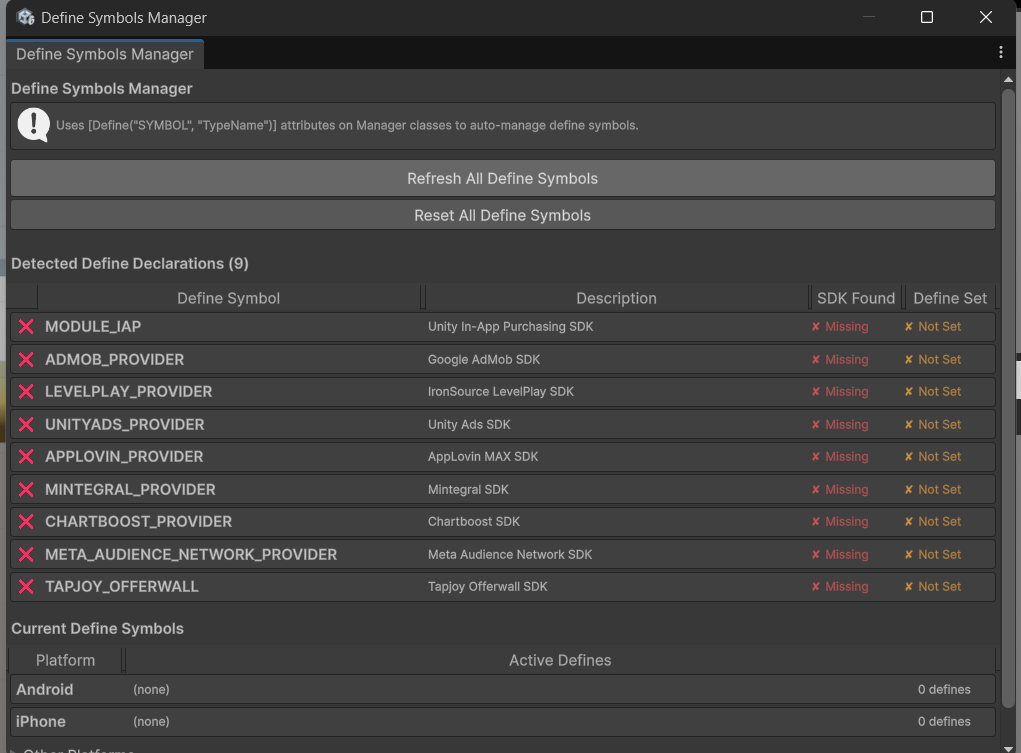
Define Symbols Manager Window
- Go to
4. Advertisement Setup
Unified API for AdMob, Unity Ads, IronSource (LevelPlay), AppLovin, and more.
-
Enable Module:
- Open your
Main System Settingsasset. - Under the MODULES section, look for Advertisement Module.
- If it’s missing, click Add Module > Advertisement Module.
- Click the ENABLE/DISABLE button to ensure it reads DISABLE (meaning it is currently ENABLED) or check if the section is expanded and active. Actually, the button label shows the action to take, so if it says “DISABLE”, it is currently Enabled. ensure the module is Enabled.
- Open your
-
Assign Settings:
- Note: If you chose Option A in the Main System Setup, your
AdsSettingsis already configured by default and you can skip replacing it. If you chose Option B (Manual), follow the steps below: - Expand the Advertisement Module configuration.
- Locate the Settings field (
AdsSettings). - Click the “Generate AdSettings” button, and the settings will be automatically created and assigned.
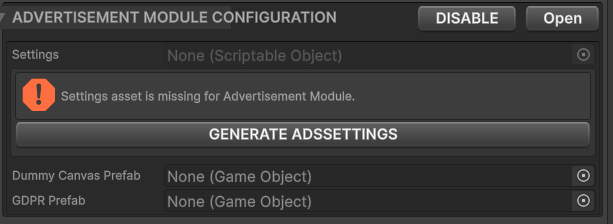
Generate AdSettings
- Crucial: If this slot is empty, the Ads Manager will fail to initialize.
- Note: If you chose Option A in the Main System Setup, your
-
Configure AdsSettings:
- Click the “Open” button in the Advertisement Module to open the
AdsSettingsasset directly. - Important: Make sure your desired SDK’s Define Symbol is already active (see Section 3). If not, the provider will not appear in the configuration dropdowns.
- For full details on all available settings, see the Ads Inspector Reference.
- Click the “Open” button in the Advertisement Module to open the
5. In-App Purchases (IAP) Setup
Similar to the Ads setup, enable the In-App Purchase Module in your Main System Settings and open the IAPSettings via the “Open” button.
The key difference in IAP is the ProductKeyType system. ProductKeyType is an enum used as an internal identifier in your code — it is not the ID from the Play Store or App Store. With it, you can reference a product in your game logic (e.g., ProductKeyType.NoAds) without caring about what the actual store ID is.
The actual store IDs (androidID and iOSID) are stored separately inside each IAPItem. The IAPItem acts as the bridge — it maps each ProductKeyType enum value to the correct platform-specific store ID at runtime.
To add or modify your product keys, click the “Edit ProductKeyType Enum” button in the IAPSettings inspector.
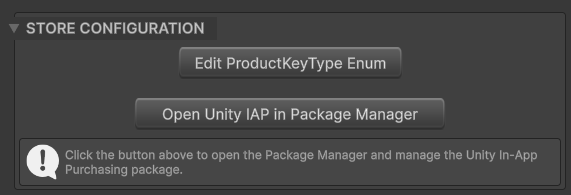
Edit ProductKeyType Enum button in IAPSettings
This will open a dedicated panel where you can add, rename, or remove your product keys.
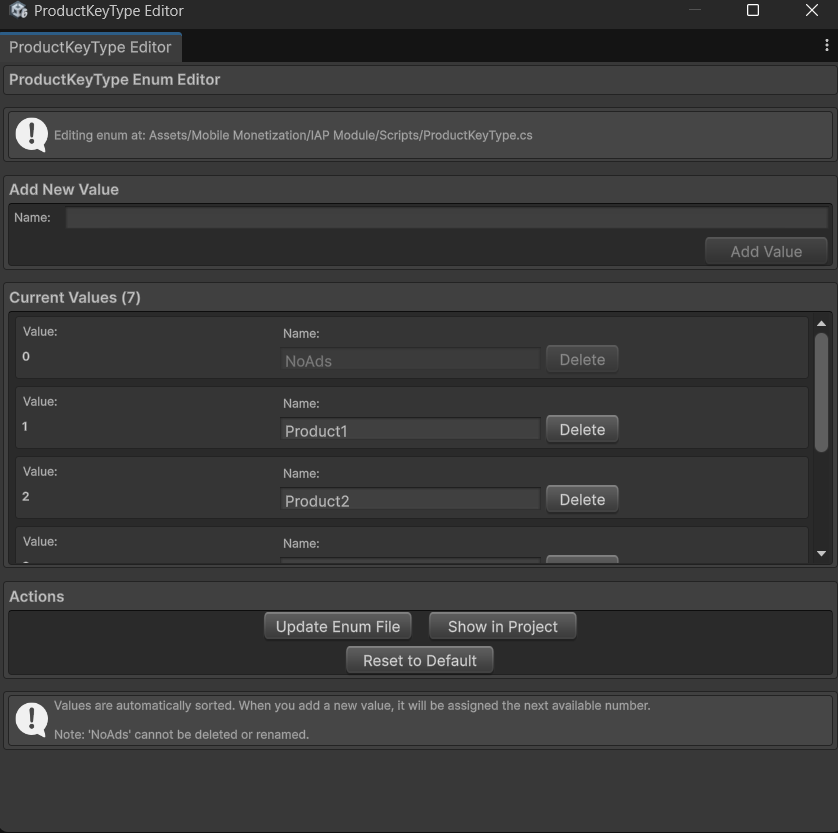
ProductKeyType Enum Editor Panel
For full details on configuring products and all available settings, see the IAP Inspector Reference.
Next Steps
For detailed API documentation on the major revenue modules, see:
- Settings: Core | Ads | IAP
- API: Ads Reference | IAP Reference